Though a big part of our business here at bluemedia involves vehicle graphics and customer-facing advertising, our clients have increasingly asked us to provide interior décor for offices and non-public spaces. For these types of jobs, we wanted to find a way to introduce the graphics with a nice, finished appearance without being a standard framed print on the wall. Plus make it an easy install anywhere the client desired, without being invasive to the building, as well as simple to update should the theme in the room change.
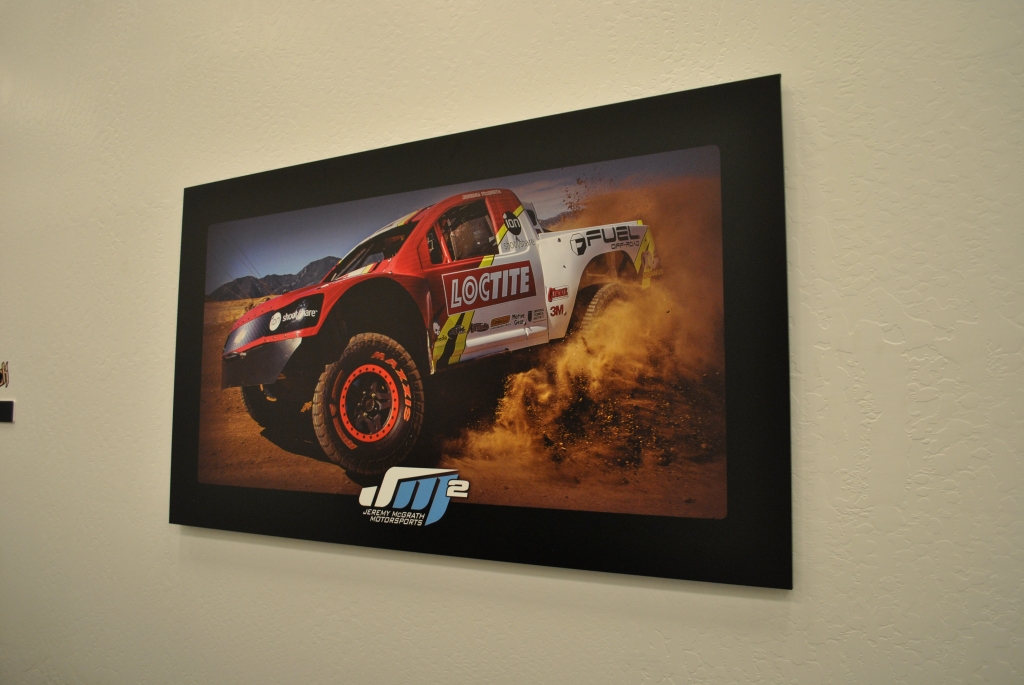
After some time, the solution that evolved satisfied all our requirements and was so easy to execute that we started introducing it in temporary and public environments, such as stadium concourses, because it gave a nice third dimension where we might have simply used murals before. By using a simple piece of Gatorfoam and a custom museum-mount (or French cleat) we’re now able to place an image off the wall about an inch, and, with the help of the shadows it usually casts, give the impression that it’s floating just in front of the wall.
Our most common client-request size is 2 x 3 or 4 feet, but we can accommodate up to 4 x 8-foot graphics. For this project, we decided to create a graphic for ourselves – to be hung in the hallway of our office – highlighting a truck wrap we completed for seven-time AMA Supercross champion Jeremy McGrath, totaling 4.5 x 2.5 feet.
Step 1 Bleeding Out
We created our piece by applying a vinyl decal to a piece of Gatorboard. Whether we’re using an image that covers the front of the board edge-to-edge, or, where our image has a solid border, our designers make a point of giving extra bleed for these projects. The additional vinyl allows us to wrap around the edge of the board as you’ll see in a Step 3. This conceals the exposed foam edges of the board and allows us to create an item that is light enough to hang almost anywhere, without being concerned about whether the wall can support it.
Step 2 Up Close and Personal
Our design team sent the file to our print department where it was processed using our Onyx Thrive RIP, and then it was sent to our HP Designjet L65500 latex printer. Though many of the things we produce are grand format and meant to be viewed from a distance, the L65500 gives us a high-resolution print that looks great up close, and its latex inks have the added advantage of not needing to out-gas before we can work with the print.
Step 3 The Protection It Needs
Besides being able to wrap the edges, another advantage of using a decal instead of direct printing onto the board is the added protection and choice of finish the laminating process gives us. In most cases, we choose a matte or luster finish for the prints so they don’t reflect hot-spots of lighting in the room when installed; for this print we chose a luster finish. The laminate also allows them to be easily wiped clean if needed, and we can even install another image over the existing print if the client wants to later.
Advertisement
Step 4 It’s in the Details
After laminating, the decal was trimmed out and a piece of Gatorfoam was cut to size using our panel saw. Before the decal could be installed, the board was taken to an area set aside for dust-free work and cleaned with a tack-cloth. It’s important to have a completely smooth surface to install on because any little speck of dust will show up as a bump in the decal; when the image is hung, these can be very obvious if the light hits them just right.
Step 5 Finding Your Center
The decal was centered on the board and taped down the center to hold it in place. For larger prints, we use a “hinge” method to install the decal, removing the liner and installing half the decal at a time to allow the tape to hold it in place. After the first side was installed, it held the image in place while the tape was removed and the second side was adhered to the board. Since the image will be viewed up close, we used felt squeegees from Arlon that don’t leave the tiny hairline scratches you can sometimes get with harder-edged plastic squeegees used on larger projects.
Step 6 Wrapping it Up
After the decal was completely applied to the front of the board, we flipped it over to finish the installation. The decal was wrapped around the edges of the board and adhered to the back to cover the exposed foam. When this was complete, we had the advantage of a light, durable board without the appearance of unfinished edges. A plastic squeegee was used this time since it allowed us to apply more pressure for a strong seal, and no one can see the back once the image is hung up.
Step 7 Preparing the Cleats
We custom-cut cleats here by taking a piece of Gatorfoam up to 1-inch thick (or as desired) and cutting it in half with a table saw set at a 45-degree angle. Two pieces formed the hanging bracket, and a third piece was cut for the bottom to keep the print hanging parallel to the wall. We applied double-sided tape and silicone to the pieces being installed to the board; the tape held them in place while the adhesive dried.
Step 8 Consistency is Key
We learned early on that it’s important to be consistent in how you cut and install the cleats. Always doing it the same way makes it easier for installers onsite, and will allow you to replace an image if needed; the replacement can then one hang exactly where the old one did. (We often install more than one image in a room, and it’s very obvious if the image is changed and suddenly it’s out of line with the rest because the bracket wasn’t the same. For these reasons, we always cut them the same size and use a guide to ensure they’re installed the same way every time.) Finally, the matching wall portion of the bracket was masking-taped in place for transport, and then it was ready to be placed on the wall.
Step 9 Check, Check
At the install site, the installer measured out placement of the images, then took a second set of measurements and marks where the actual cleats would go. The cleat was taped in place and checked with a level. Once everything checked out, the wall bracket was screwed into place.
Advertisement
Step 10 All Hung Up
It was time to hang the picture. The two 45-degree-angle pieces slid together and the picture was held to the wall by its own weight with no obvious signs of what’s holding the print in front of the wall. It can’t fall down on its own, but can be removed in a second if needed.
RJ Orr is vice president of sales for bluemedia (www.bluemedia.com) in Tempe, Arizona.


 Best of Wide Format2 months ago
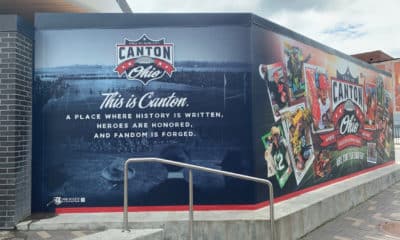
 Best of Wide Format2 months ago
 Best of Wide Format2 months ago
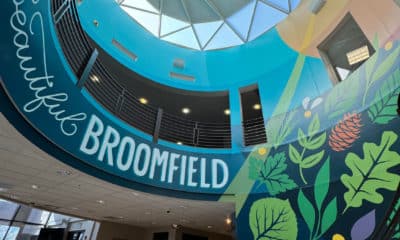
 Best of Wide Format2 months ago
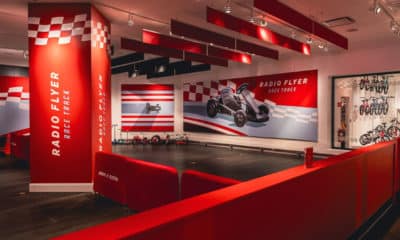
 Best of Wide Format2 months ago
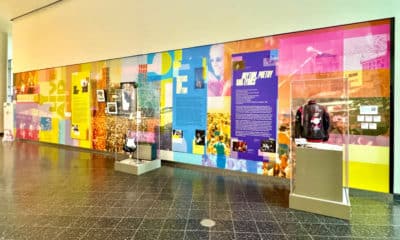
 Best of Wide Format2 months ago
 Best of Wide Format2 months ago