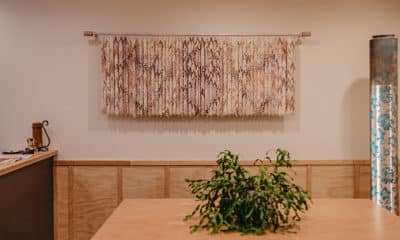
IF YOU’RE IN the digital textile printing game, it’s fair to assume you’ve received some wild, out-of-the-box requests for custom projects. You could even argue it’s what our industry was built for and thrives on – we have a penchant for tackling the “impossible.”
Lately, I’ve had requests ranging from fine-art 3D installations for the Arlington Rodeo to hand-painting textures and details onto already digitally printed wallcoverings. You may never know what your next project is going to entail, but it’s critical we remain poised for complexities and steadfast in our commitment to a solution-oriented approach.
When it comes to solutions – and we’re talking bonafide solutions, not Band-Aids or quick fixes – we need factual data to back up our processes and technologies. There’s no better place to start than with testing. Note that I stated “start with testing,” not “finish with testing” or “test halfway through the process.” Starting with testing is key because it’ll influence everything you do moving forward.
Too often I’ve witnessed print studios test in only one situation: when there’s a problem. If that sounds like an all-too-familiar pattern, I’m here to encourage you to adjust your workflow and mindset. Testing at the beginning of a project will reduce errors, reduce liabilities, and help you get a good night’s sleep.
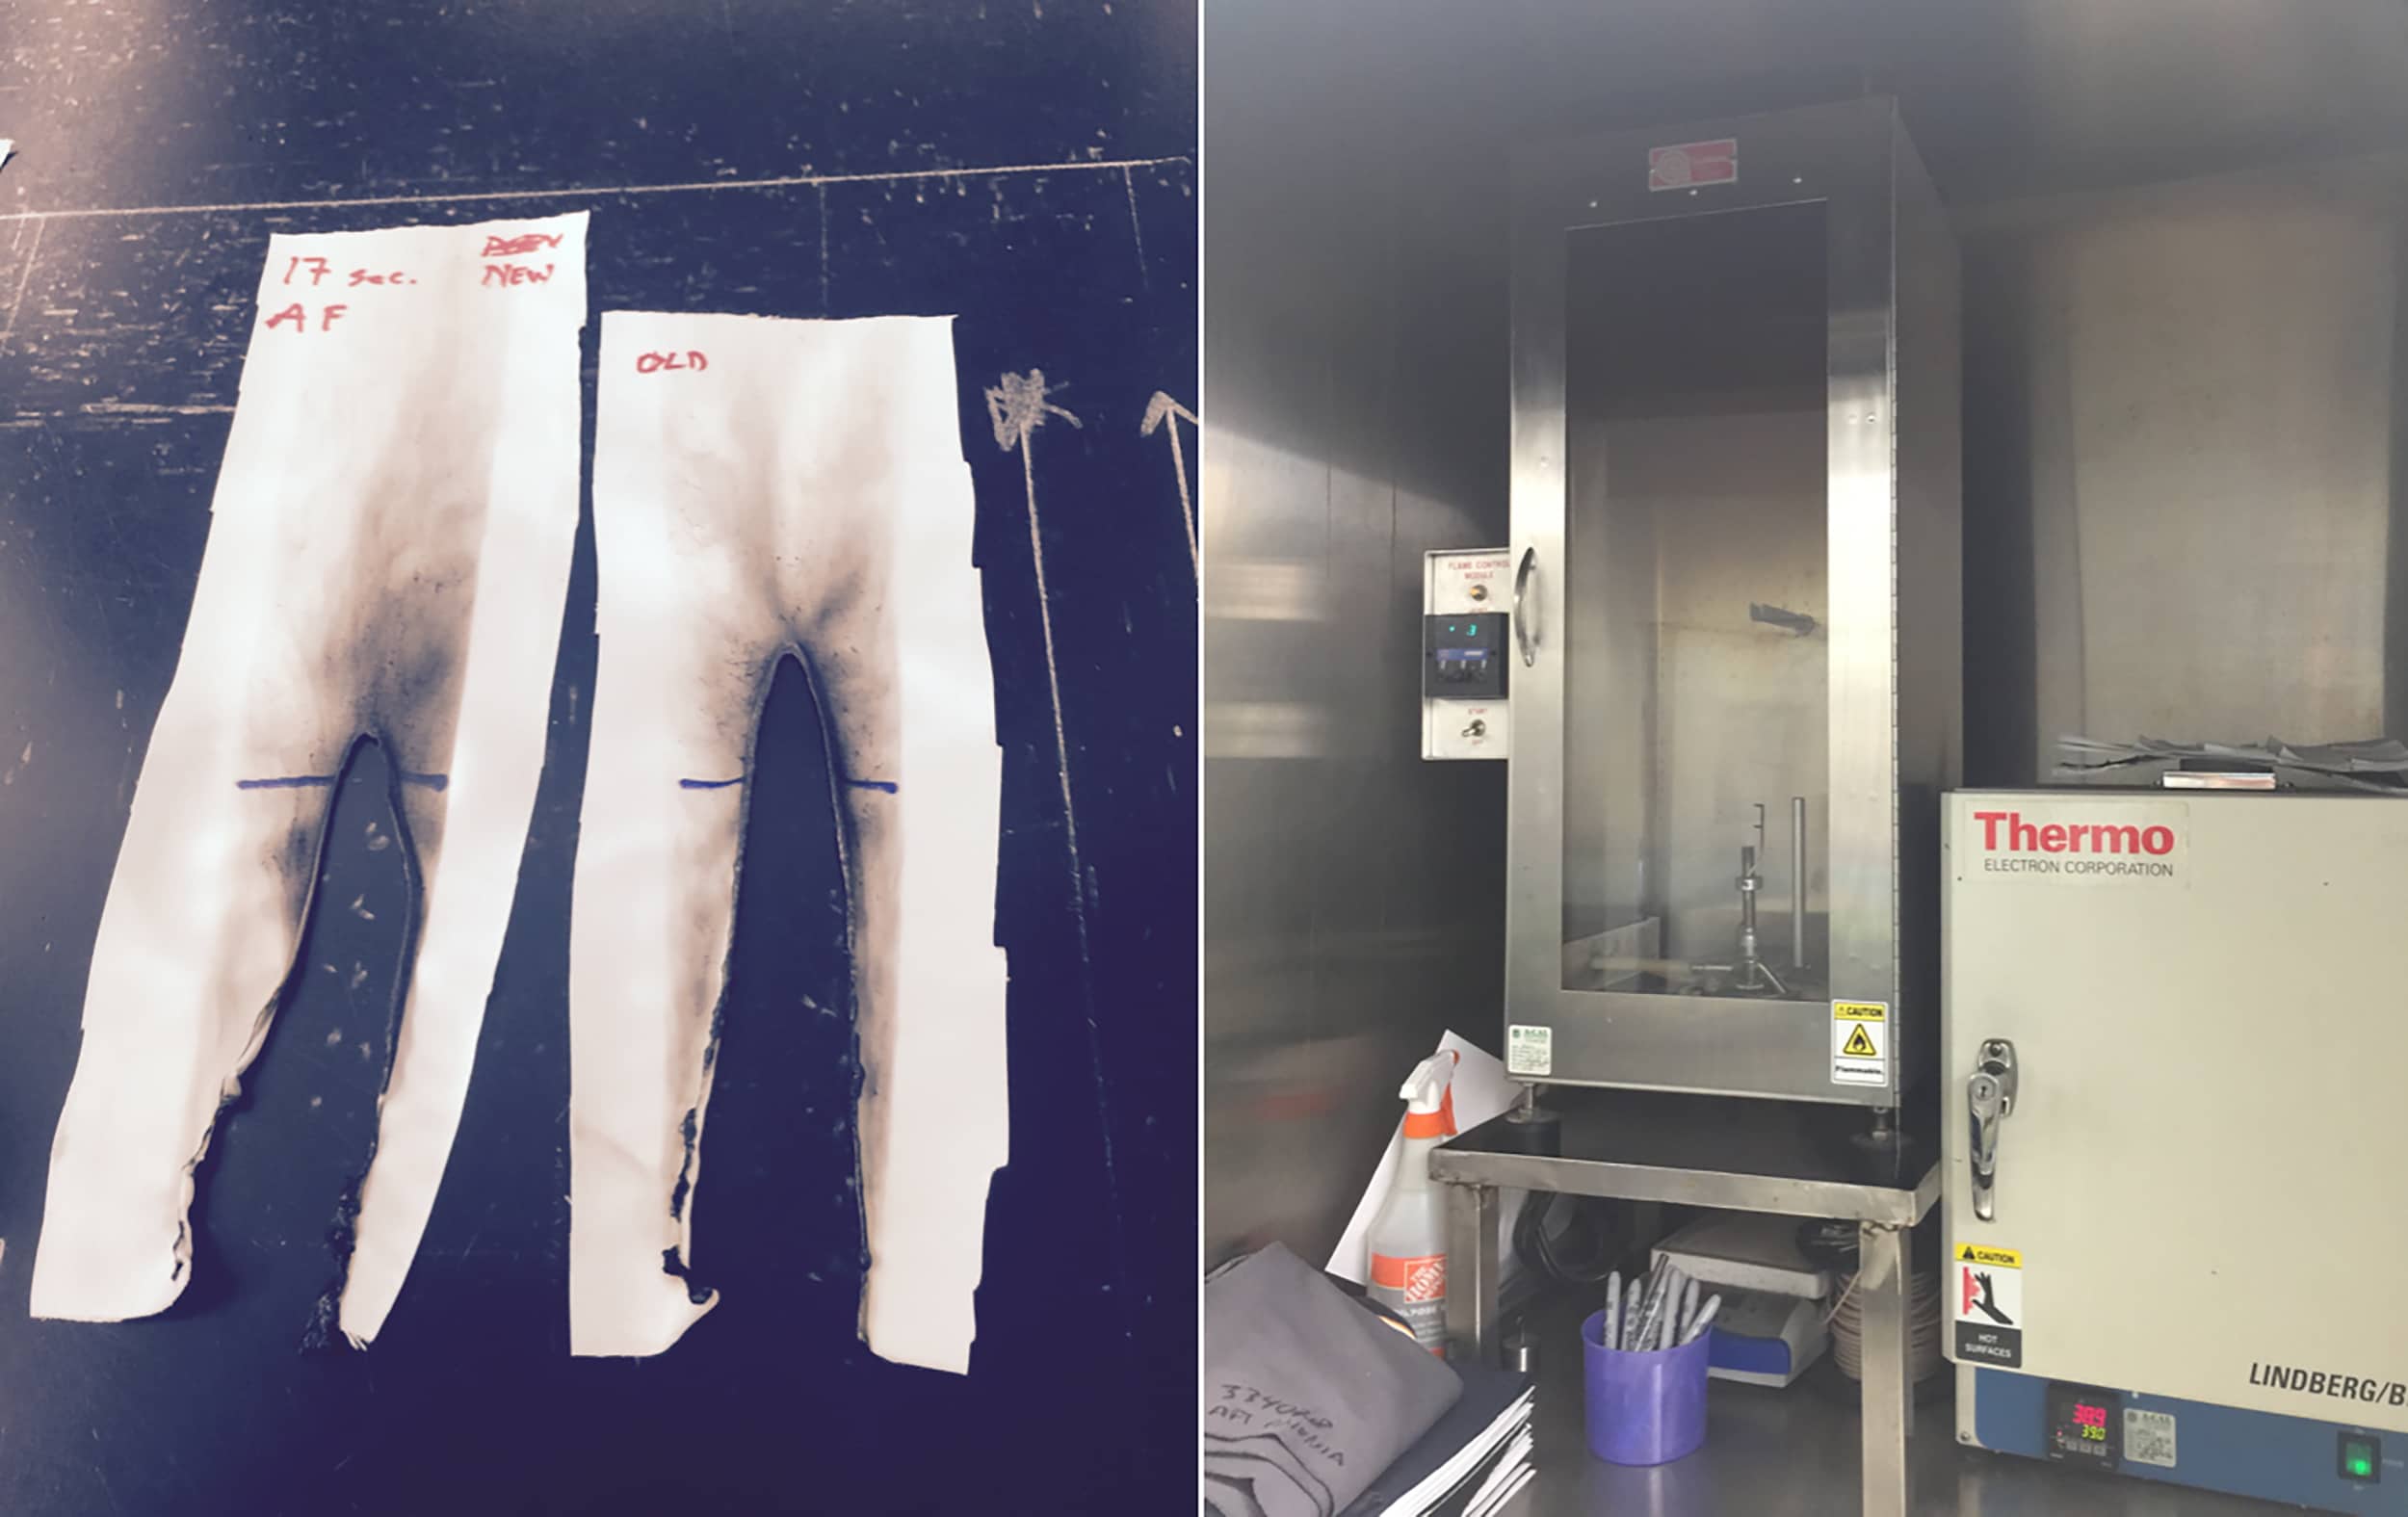 Example of a vertical flame resistance test that determines if a textile will continue to burn after ignition is removed. After flame, afterglow, and char length can be measured.
Where to Start
Testing might seem overwhelming at first, but rest assured there are tons of pros out there who can help. I suggest researching AATCC and/or ASTM verified labs – they’re quite literally in the business of getting you the results you and your client need. (You can always reach out directly to the AATCC Technical Team, too.)
Advertisement
You can find textile testing labs throughout the country, but (not surprisingly) most are in North Carolina. I always recommend starting the process human-to-human with a phone call. I know that might seem old school (or dare I say too direct) but it’s the best way to move your project forward. Get on the phone with a testing expert and share your project parameters and end goals. They might recommend a different testing method than what you originally sought out.
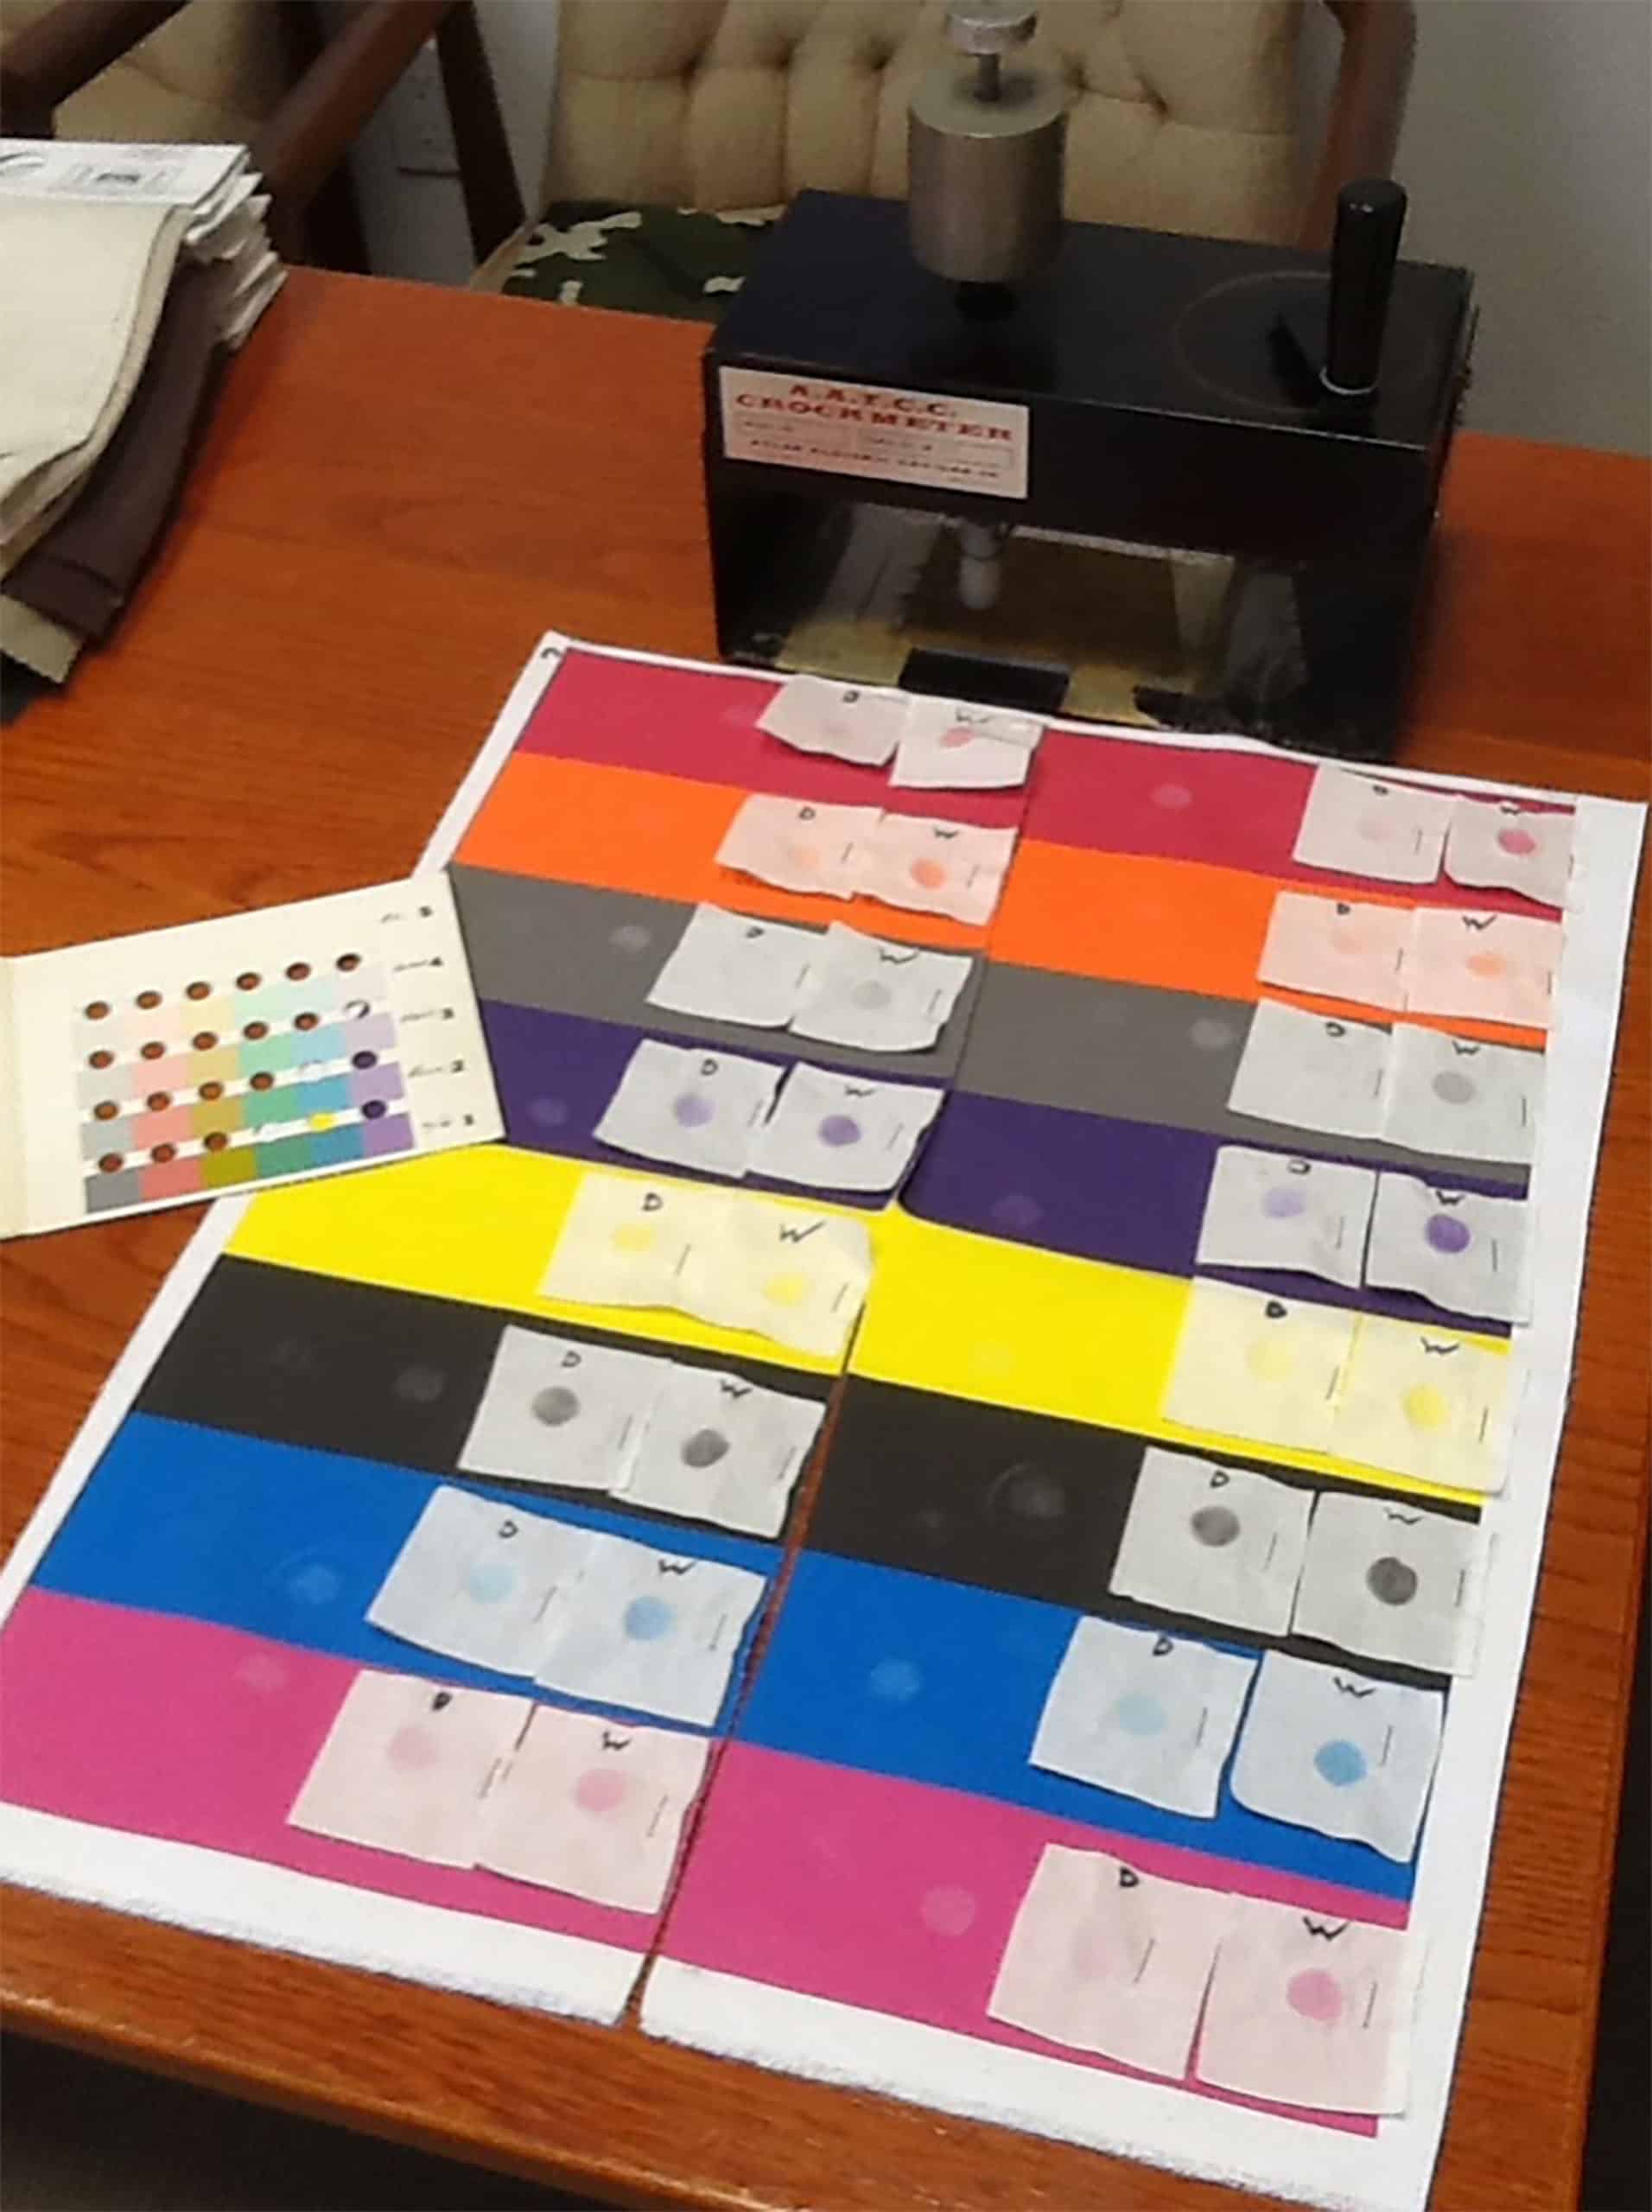 Examples of wet and dry crock tests performed using a crockmeter. Different than abrasion tests, crock tests measure the amount of ink or dye that can be rubbed off the textile.
Textile Tests for You
For digital textile printers, some textile tests are more relevant than others. These tests include abrasion, colorfastness, durability, flammability, and strength. It also doesn’t hurt to ask your ink and substrate suppliers if they offer testing certifications.
Implement Testing Into Your Workflow
Adding a new step to your process may be frustrating in the short term, but the long-term impact strongly outweighs any potential pain points. In addition to elevating the type of service you can offer, you’ll be able to train your employees and the next generation on the value of testing. The repercussions of that specific type of focus have the potential to ignite industry-wide progress.
If you’re getting anxious thinking about how you’re going to build testing costs into your services or contracts, know it’s typical to pass this expense along to your customer for custom projects. At the end of the day, they’ll be much more satisfied having confidence in how the materials perform, and that’s what could set you apart as their PSP.
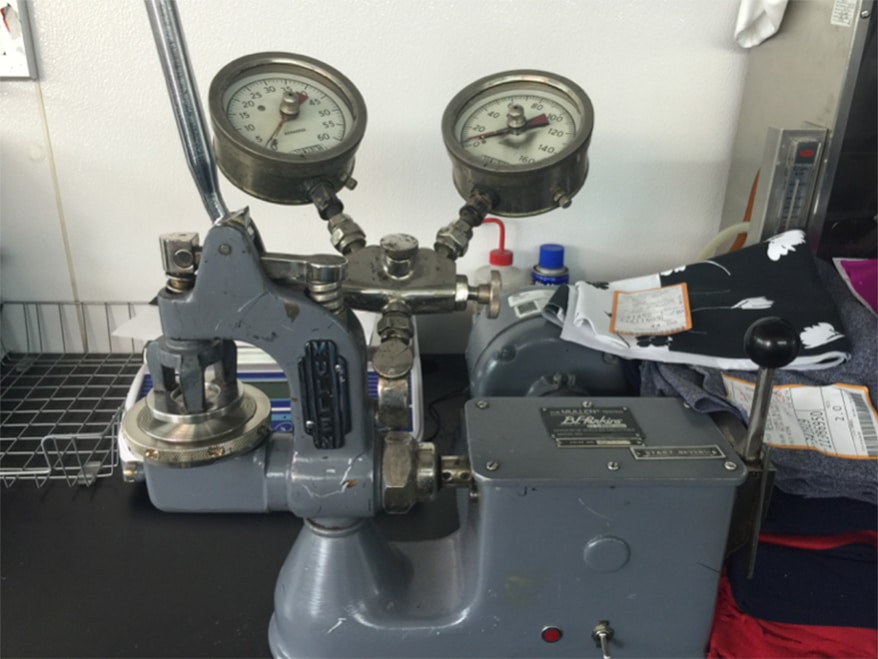 A burst strength test, commonly performed on textiles with stretch, measures how the fabric handles pressure.

 VEHICLE WRAPS + GRAPHICS3 weeks ago
 Press Releases3 weeks ago
 Case Studies3 weeks ago
 Case Studies1 week ago
 Benchmarks3 weeks ago
 Press Releases2 months ago
 Press Releases3 weeks ago
 Press Releases2 months ago
 Example of a vertical flame resistance test that determines if a textile will continue to burn after ignition is removed. After flame, afterglow, and char length can be measured.
 Examples of wet and dry crock tests performed using a crockmeter. Different than abrasion tests, crock tests measure the amount of ink or dye that can be rubbed off the textile.


