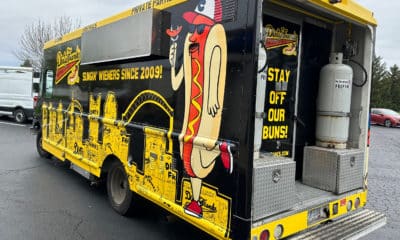
CHALLENGES OF OUTSIDE installations include more than just unpredictable weather. What if the install space is uneven, or worse, entirely inaccessible? How does one prepare a surface for long-term adhesion? What if that same graphic also must be easy to remove and replace? Read on to learn how PSPs leveraged creativity and knowledge – particularly in choosing the right materials for the job – to solve these problems and more in the transformation of three very different exterior spaces.

M3
Greensboro, North Carolina
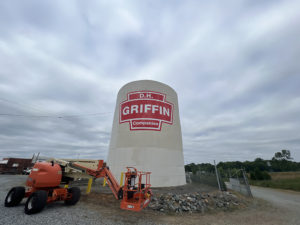
“Performing a solid site survey got this job moving in the right direction,” says Rob Matthews of M3, which produced two 341- by 216-inch logos for opposing sides of this tank. “The client wanted to view the logo from specific points on the road. We took a variety of photos from both sides of the highway to give our installers accurate starting points.”
Although installing on a curved surface was “tricky,” Matthews says the greatest challenge was preparing the brick for proper long-term adhesion. To that end, the company worked with a pressure-washing vendor to test different surface treatments. “Older, painted exterior surfaces will oxidize over time, creating a chalky film,” he explains. “For a small area we could use alcohol, but for something this big we called in the professionals.”
Testing involved pairing the different chemicals with various 3M films on three different install areas. In addition long-term adhesion, the ideal film would lend itself to repositioning without losing tack in the process. The final choice was 3M IJ39, a high-tack permanent film recommended for low-surface-energy materials such as plastics and powder-coated metals. This film offered the added advantages of a premium liner, which kept the material flat during printing and processing on the HP Latex 800 W, GFP laminator, and Zund G3 cutter. “It ended up being a perfect fit for this project, and the installers had no trouble with it,” Matthews says.
Tip: Be ready to familiarize your install crew with unfamiliar equipment. M3 sends installers to its equipment rental partner to train, which proved critical for a project that required renting an all-terrain boom lift that could operate on uneven ground and reach areas that would be inaccessible to a truck.
Awesome Graphics
Rutland, Vermont
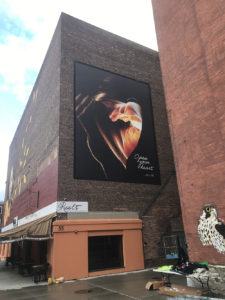
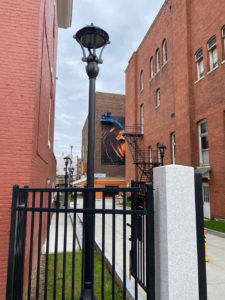
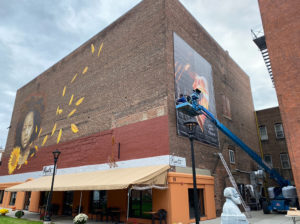
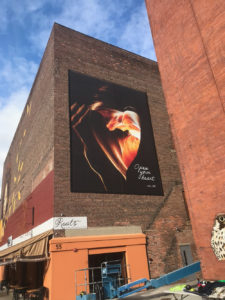
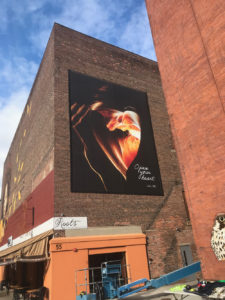
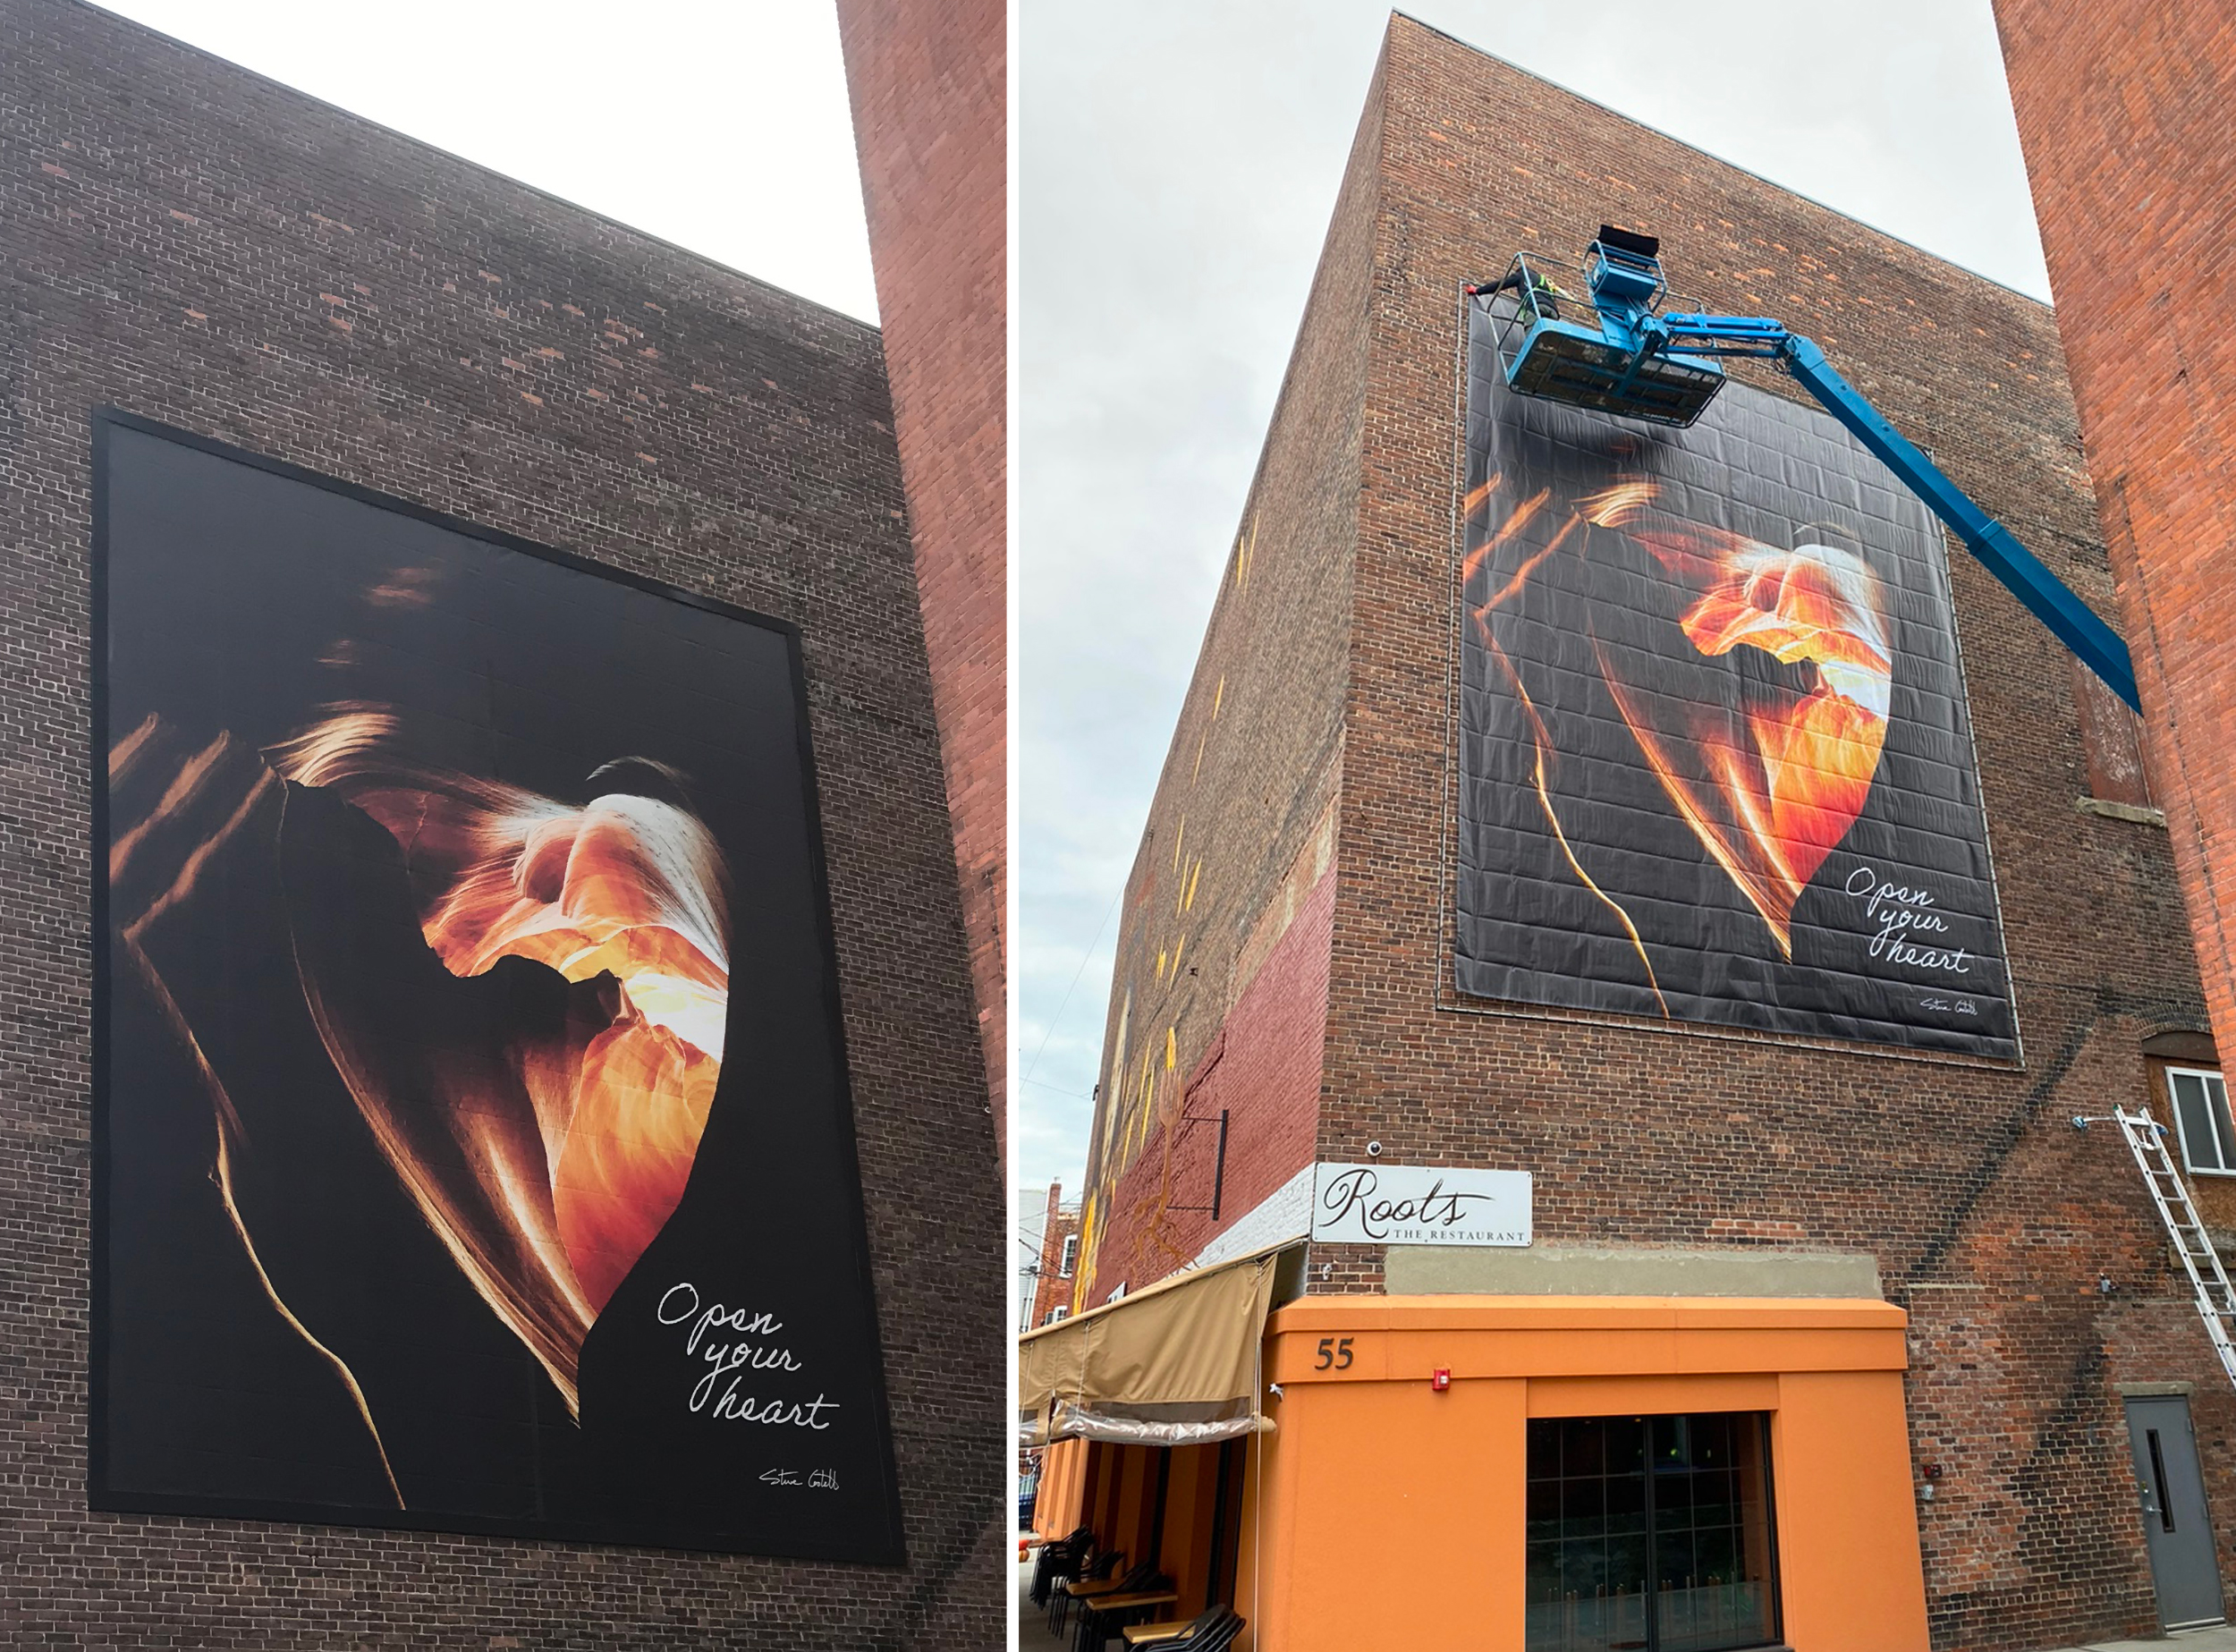
This massive mural is not the only print from Awesome Graphics to adorn the Rutland Sculpture Trail, which is filled with marble sculptures, art, and works highlighting local history. However, this project was different — rather than Giclee stretched canvas, as the company had used in the past, Awesome Graphics opted for a high-end exterior banner material with a frame system.
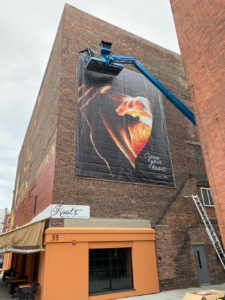
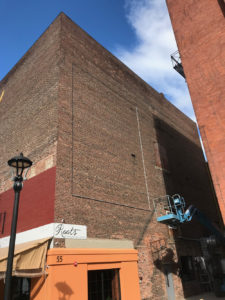
Commissioned by local artist and philanthropist Steve Costello, the full-color, 258- by 330-inch mural is printed on an 8-oz mesh banner material on a frame with powder-coated metal covers. One reason for this approach was the client’s requirement for a cost-effective way to update the graphics without worry that removal would damage the underlying brick, says Tami Napolitano, owner of Awesome Graphics. Another was the weather. “Vermont’s weather and temperature variance make it difficult to provide any kind of warranty with direct-to-brick vinyls,” she explains. “The freezing/thawing cycles necessitated the use of this system to take away a few of the uncontrollable variables.”
Thanks to thorough preparation, the Awesome Graphics team recognized using levels to line the image up would make the mural look crooked. Rather, they chose to follow the existing grout lines. “Working at this scale always involves some time in the planning phase, but this system was pretty straightforward,” Napolitano says.
Tip: Don’t ever assume tools will work out-of-the-box. In this case, the Awesome Graphics crew discovered the factory springs were initially installed with the openings facing outward. Even a mesh banner stretched those springs enough that a few of them would catch on the outer covers. Removing the covers and reversing the springs corrected the issue.
Advertisement
DCG ONE
Seattle, Washington
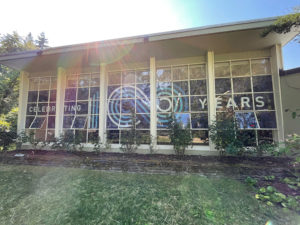
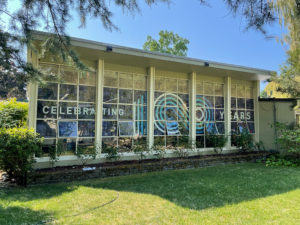
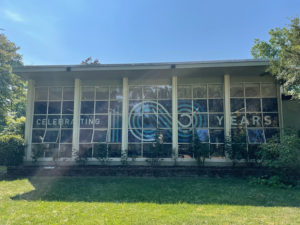
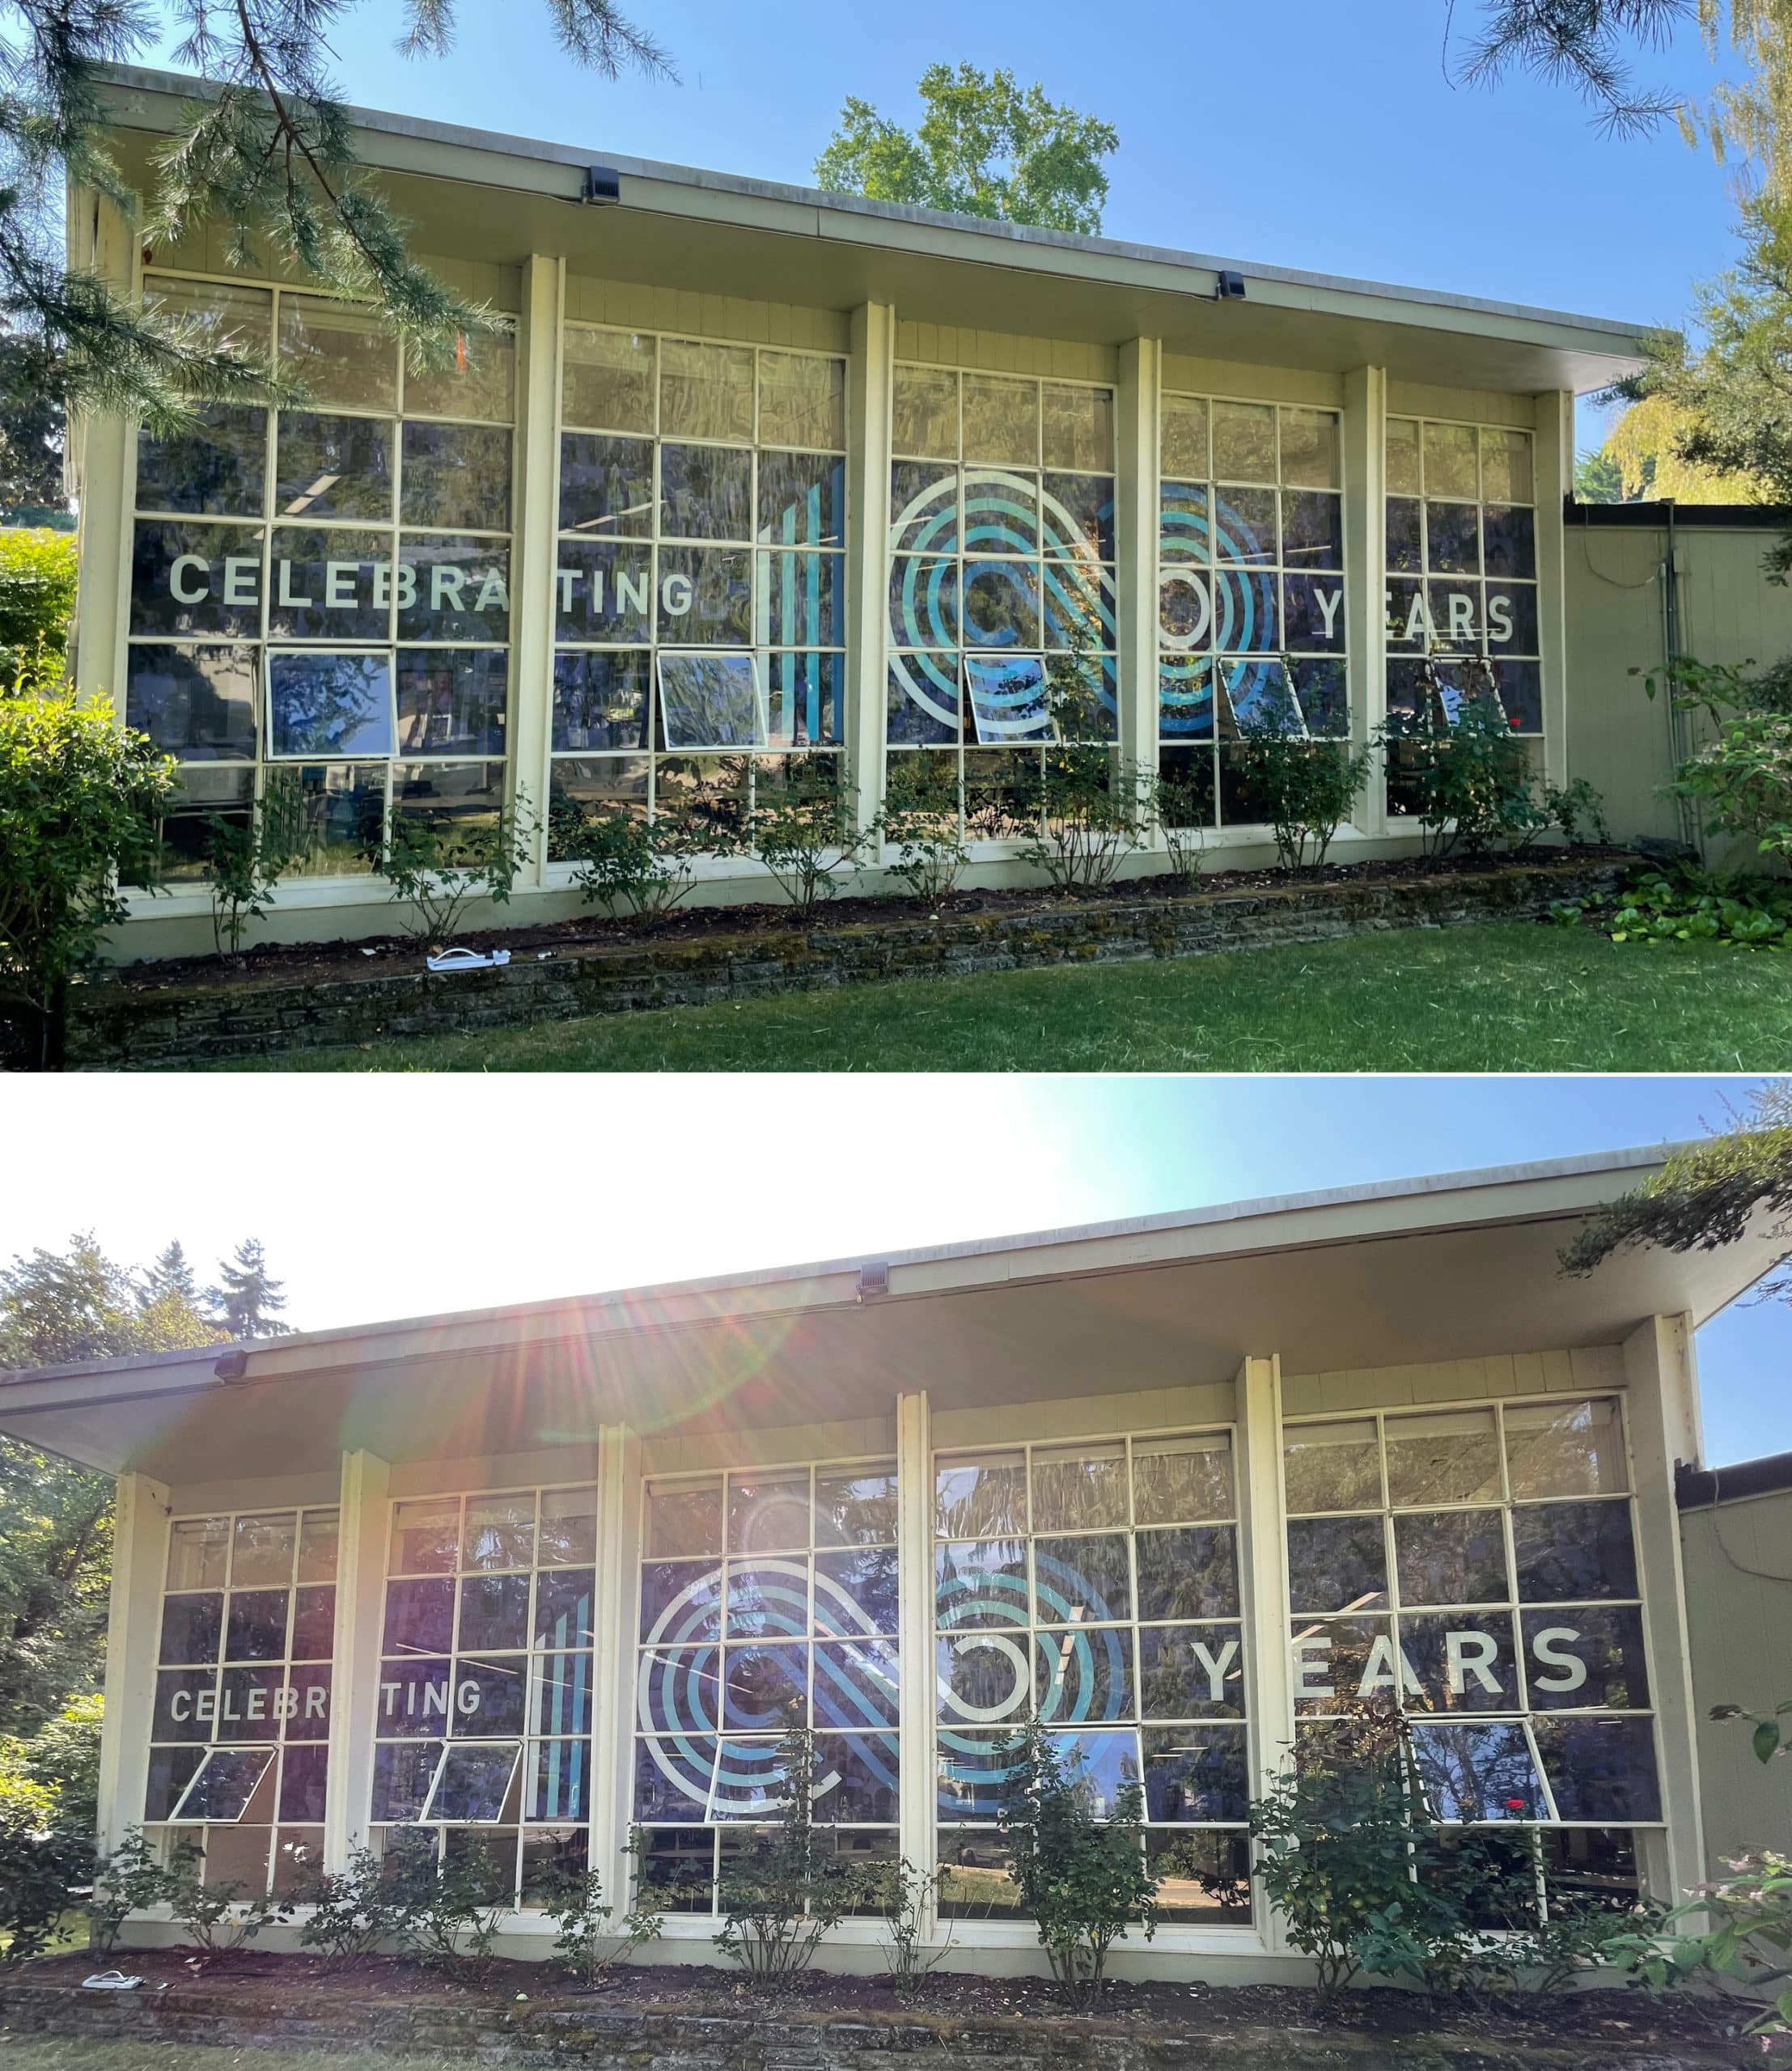
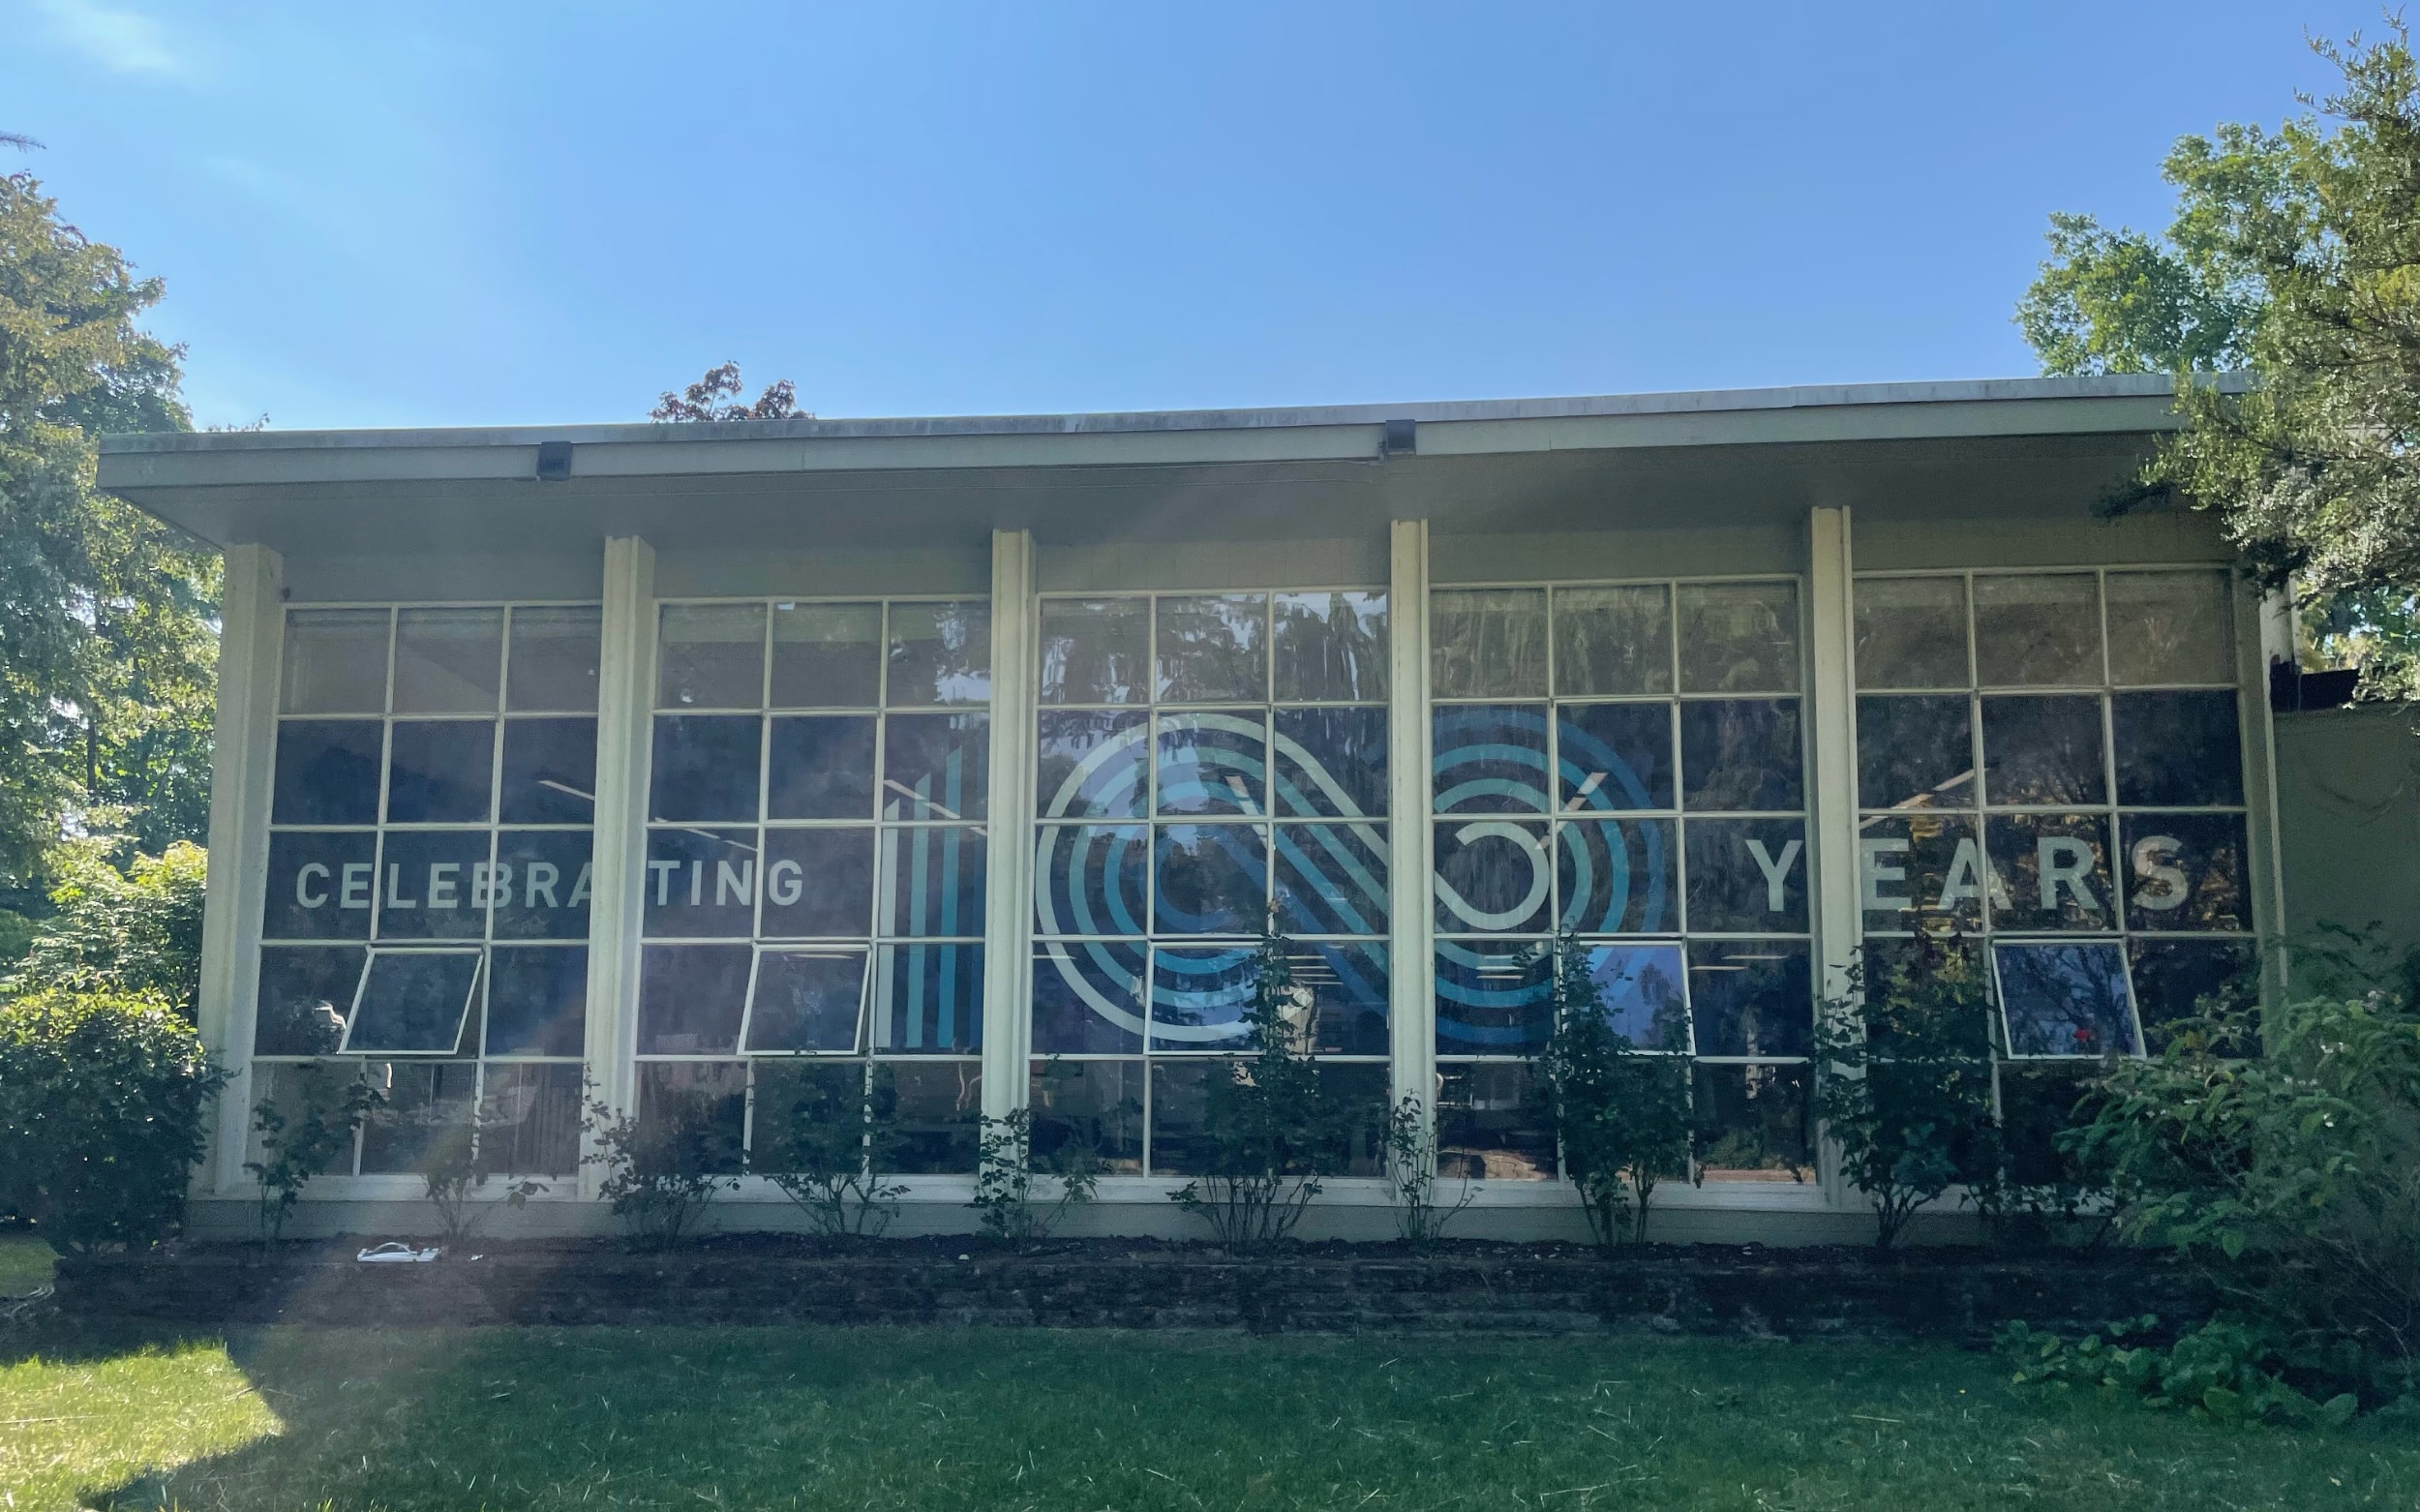
DCG ONE printed all manner of décor for the transformation of the Bush School for its 100-year anniversary. However, the windows of this “participatory learning” institution in Seattle presented the greatest challenge. “We had three different areas to cover, and all three required a different type of material to achieve the desired effect,” says Morgen Masciana, business development specialist at DCG ONE.
For example, blocking too much light would be a non-starter for the cafeteria and commons area. Natural lighting is important for these gathering spaces, and the view out the window could not be compromised either. Adding to the challenge, bringing a heavy lift for access would have been impossible without damaging the landscaping or getting the lift (or even a ladder) stuck in the soft garden soil immediately outside the window.
After careful consideration, DCG ONE recommended a second-surface application of clear, perforated vinyl (Seethru-Sign 6-mil 70/30 printed on an EFI Vutek H5 and finished on a Kongsberg cutting table and Seal 65 Pro MD laminator). Applying this material to the inside surface of the glass proved to be the “perfect solution” for these particular graphics, Masciana says. “They look perfect for what [the client] envisioned.”
Tip: Perforated vinyl can be challenging to work with for the uninitiated. Take care to avoid filling the perf holes with ink and watch out for adhesion irregularities.
PHOTO GALLERY (11 IMAGES)
? M3 | Awesome Graphics | DCG ONE
Advertisement

 VEHICLE WRAPS + GRAPHICS3 weeks ago
 Press Releases3 weeks ago
 Case Studies3 weeks ago
 Case Studies1 week ago
 Press Releases2 months ago
 Benchmarks3 weeks ago
 Press Releases3 weeks ago
 Press Releases2 months ago


