Special Reports + Analysis
Digital Wallcoverings: 5 Must-Know Tips for Installation
Prevent problems before they occur.
EACH YEAR, THE Wallcoverings Association partners with the DC #14 Apprenticeship Program and Finishing Chicago to provide educational events for top installers and manufacturers to share best practices for installing a range of wallcoverings. If you’re a PSP supplying digital décor to the commercial and/or residential interiors markets, check out wallcoverings.org to see these member programs and networking events. If you missed this year’s TecTrac, a two-day installation workshop, here are some tips I shared that can prevent problems before they occur when installing digitally printed wide-format wall coverings.
1. Have the installer look at the jobsite before printing.
A host of issues can be resolved if the installer is able to survey the jobsite before the digital wallcovering is printed. Installers look for interruptions and obstacles to the pattern, such as light fixtures, thermostats, electrical outlets, alarms, vents, doorways, and windows. Many times an important graphic element, such as a person’s face or lettering end up being placed right over an obstruction, detracting from the overall visual. Installers can often recommend a slight shift in the graphic to alleviate the problem. We also can provide you with an elevation blueprint that incorporates the interruptions into the graphic.
2. Agree on the substrate, primer, and adhesive to be used ahead of time.
When the installer visits the jobsite, he or she assesses the condition of the walls. What type of paint or wallcovering is in place? Do walls need to be primed? Is there surface moisture? Will wall damage “telegraph” through the wallcovering? These issues determine the type of film or substrate, primer, and adhesive that work best on the project. Additionally, different substrates and adhesives are sometimes needed for the same job if, for instance, the digital wallcovering covers the wall and wraps a door. The old saying, one size fits all, does not apply in wallcovering installations. That’s why there is a multitude of films, primers, and adhesives to choose from and why different substrate manufacturers recommend different methods. One trick experienced installers follow is to use the same brand of primer and adhesive, because the manufacturer has tested them together to ensure compatibility.
3. Let the installer do the trimming.
Some wide-format printers trim the selvage before shipping. Or they might cut one continuous graphic into separate panels. Please leave the selvage and bleed intact so we can trim and manipulate it during installation. The selvage protects the graphic during shipping and gives the installer more flexibility in pattern matching. If the graphic is cut into panels and rolled together for shipping, that often creates indentations that the installer has to work out with a heat gun. The best rule of thumb: Let the installer do the cutting. We’ll lay out the mural on the floor or a table, trim the selvage, and inspect the bleed. We’ll also check for color consistency under the light that will be used in the space.
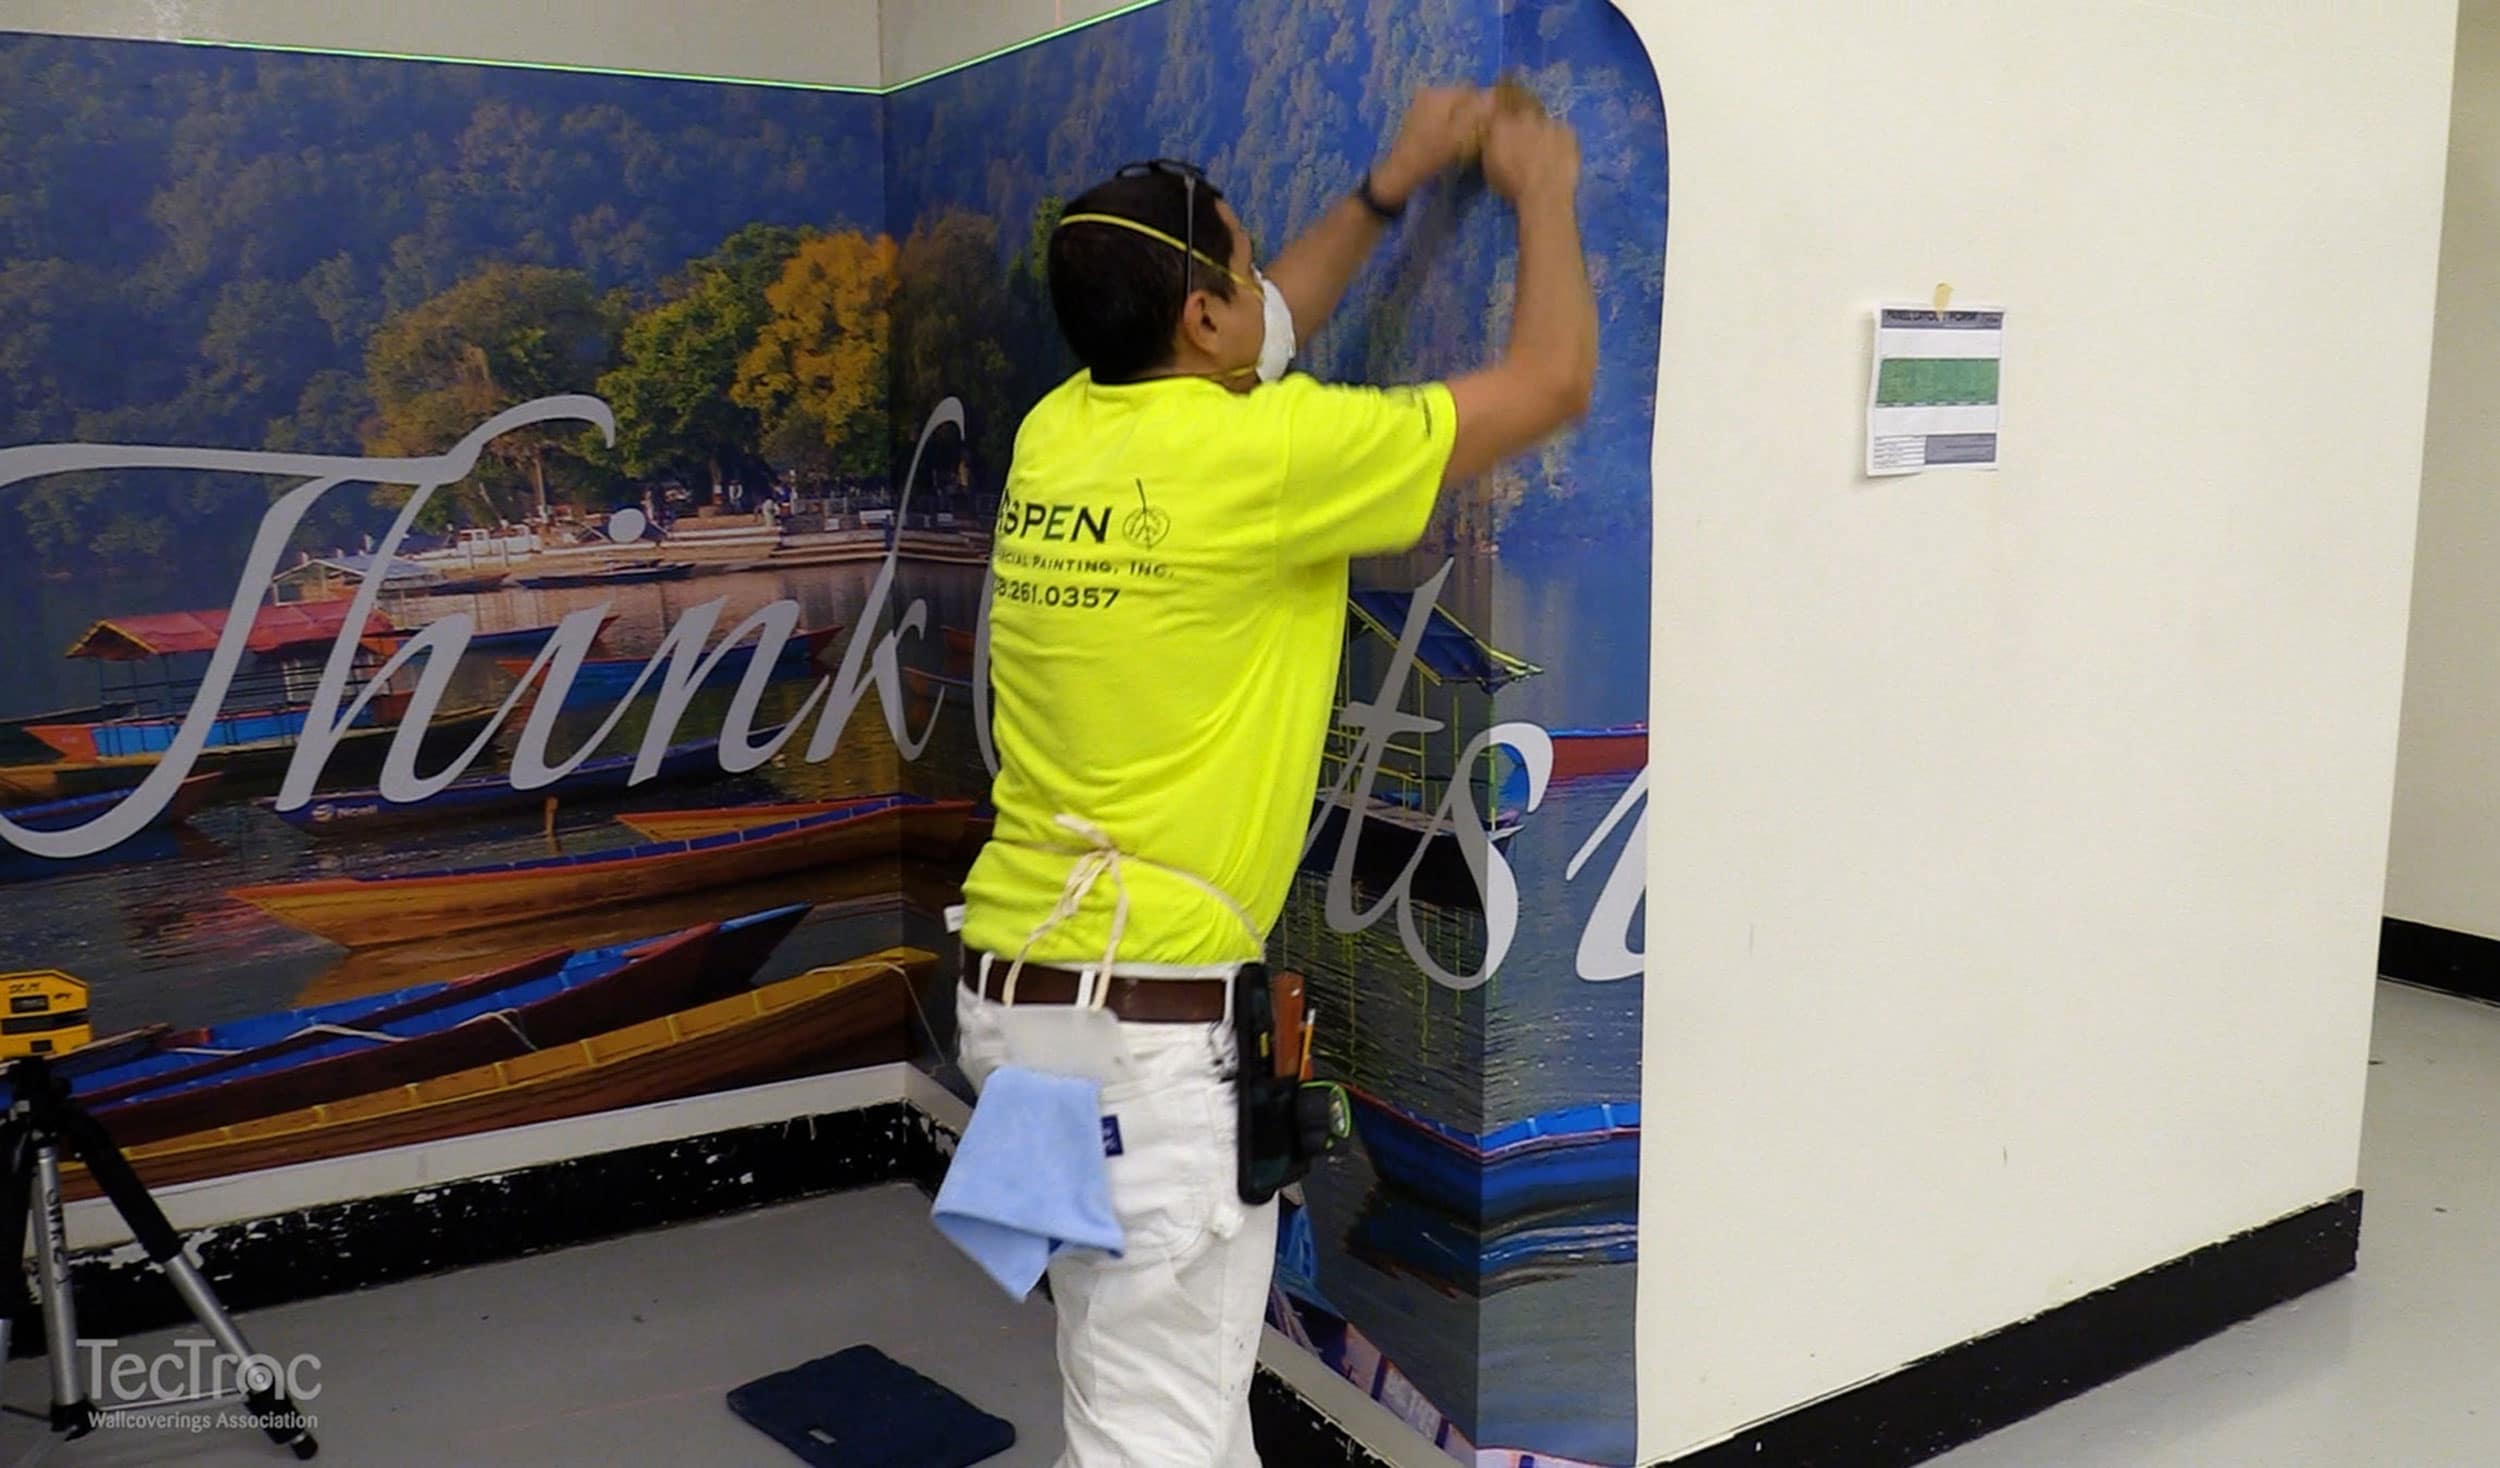
4. Wall Prep: Do it right the first time.
If there’s a problem on the job site, it’s usually due to the installation, not the wallcovering material. Insist on good wall preparation to safeguard the beauty of your digital decor. Walls should be dry, clean and sound, with no stains, mold, water damage, gouges, bumps, or nail pops. Otherwise, these issues must be fixed. Installers can do some simple tests to ascertain if the paint is adequate enough to take wallcovering or if it needs to be primed. With the advent of strippable adhesives, many installers have started to skip priming to reduce time and cost. But this will cause installation problems, either now or down the road when another installer tries to remove it. I also recommend sanding between all steps, including patching, priming, and pre-pasting.

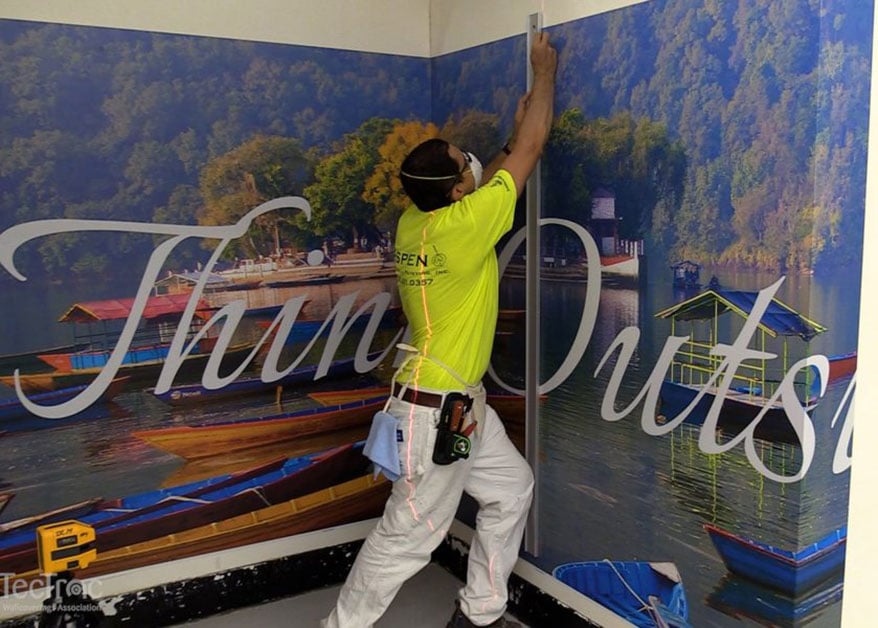
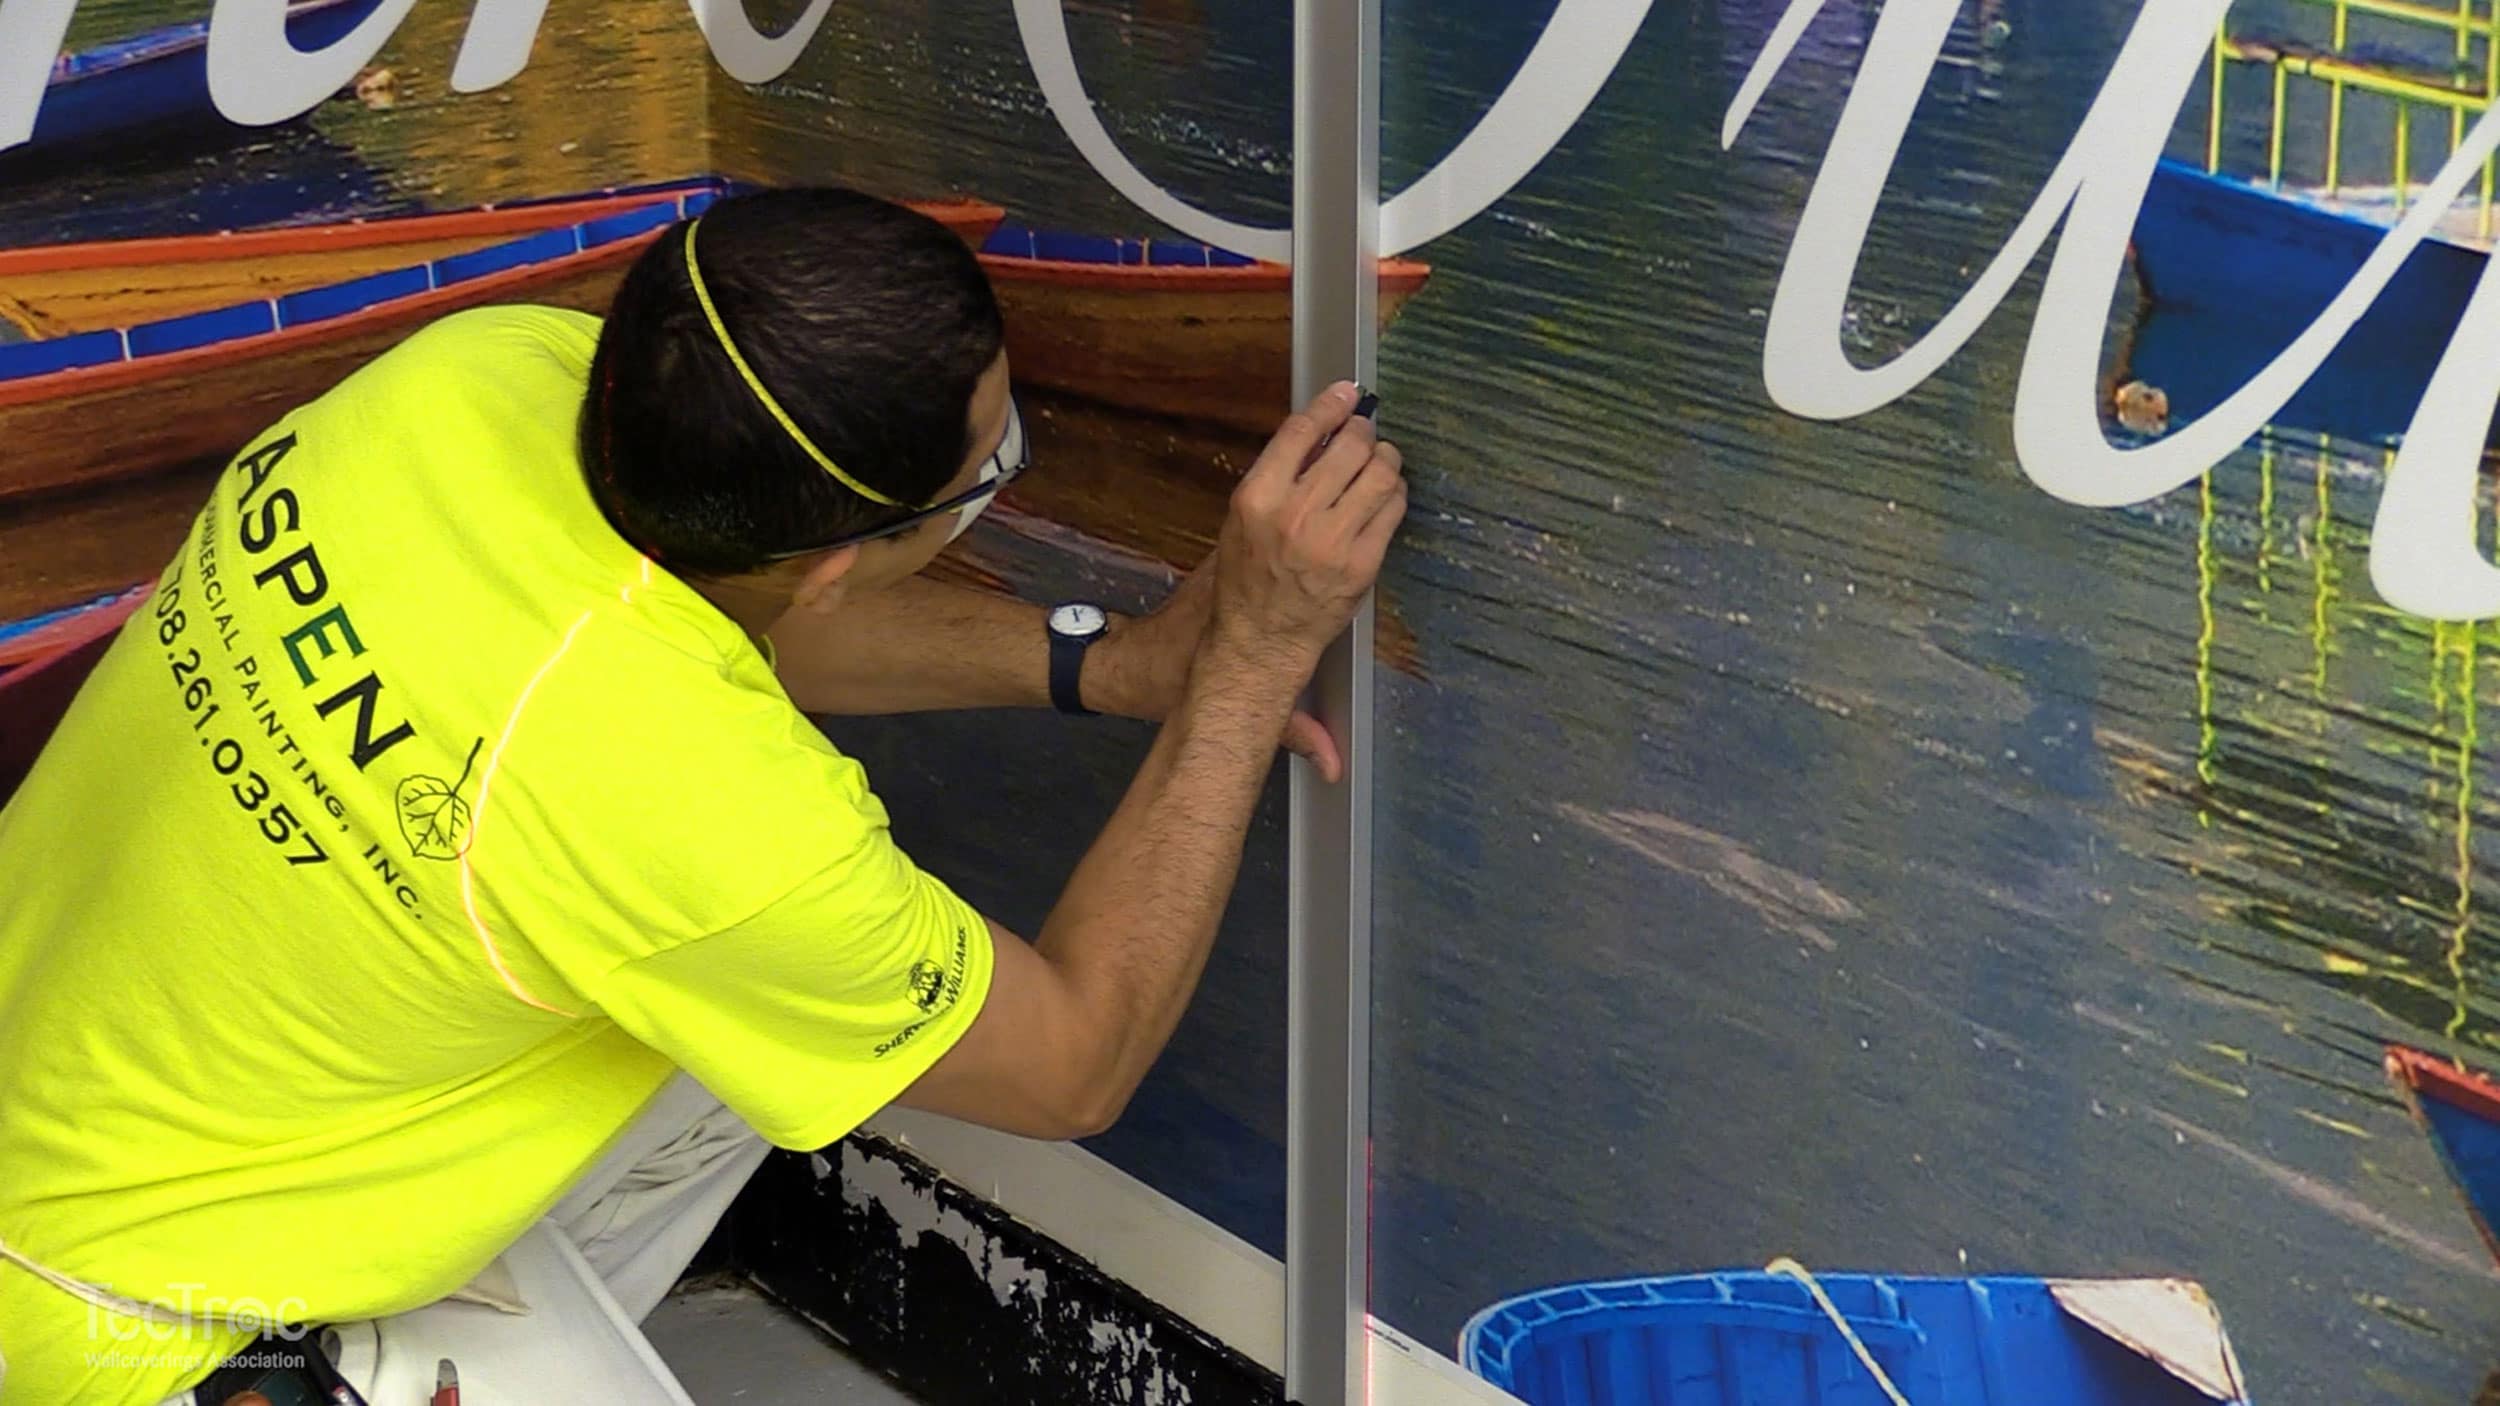
5. Tricks of the trade for hanging wallcovering.
Installers select from many tools including the 30/30 trimmer and advanced seam buster to seam wallcovering without scoring the drywall. Techniques will vary and may be influenced by the color of the digital wallcovering. For dark wallcoverings, painter’s tape can be applied between seams to keep the paste from touching the printed surface during double-cutting. Most installers hang three panels and stop to check for issues. If there is a problem, this is the time to identify it. The right primer and adhesive is important as it alleviates such problems as bubbling, gassing and tenting. For example, a clear adhesive will cause bubbling behind a Mylar surface; clay adhesives must be used. There is constant innovation in primers and adhesives, so don’t rely on the ones your installer says he “has been using for years.” Check the recommendations from the material manufacturer.
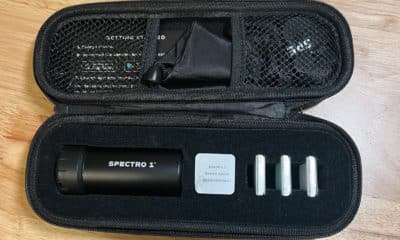
Printvinyl Scored Print Media
New Printvinyl Scored wide-format print media features an easy-to-remove scored liner for creating decals, product stickers, packaging labels, and more. The precision-scored liner, with a 1.25” spacing on a 60” roll, guarantees a seamless and hassle-free removal process.


Konica Minolta Appoints Frank Mallozzi to President, IPP

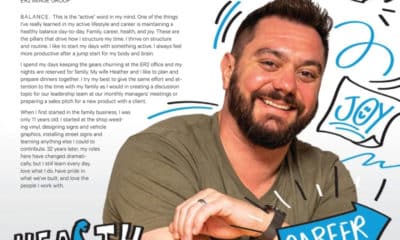
This Wide-Format Pro Started at Age 11, and 32 Years Later, Still Loves What He’s Doing

Wide-Format Printers Share Their Thoughts on Business-Advice Books


Bulletins
Get the most important news and business ideas from Big Picture magazine’s news bulletin.


-

 Press Releases2 months ago
Shop! Marketplace 2024: The Only North American Trade Event Focusing on the In-Store Experience
-

 Best of Wide Format1 month ago
Here Are the Winners of the 2024 Best of Wide Format Awards
-
 Columns2 months ago
How Apps and Instruments Are Making Color Mobile
-
 Best of Wide Format1 month ago
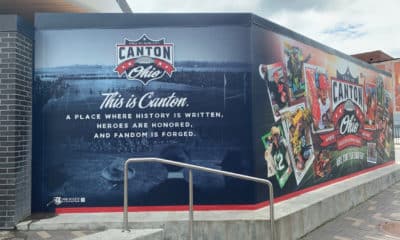
Graphics Turn an Eyesore Cooler Into a Showpiece Promo in Historic Plaza
-

 Best of Wide Format1 month ago
Private Customer’s Bespoke Bathroom Wallcovering Showcases Their Passions
-
 Best of Wide Format1 month ago
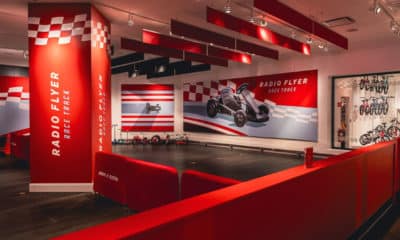
Illinois Print Pros Help Historic Toy Brand Create a Memorable Shopping Environment
-
 Best of Wide Format1 month ago
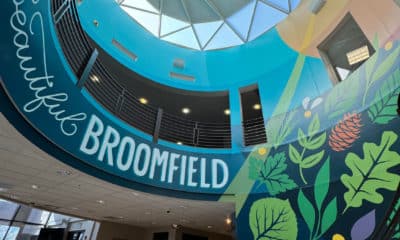
Colorado Town Hypes Its Incredible Natural Gifts in City Hall Rotunda Project
-
 Blue Print4 days ago
This Wide-Format Pro Started at Age 11, and 32 Years Later, Still Loves What He’s Doing